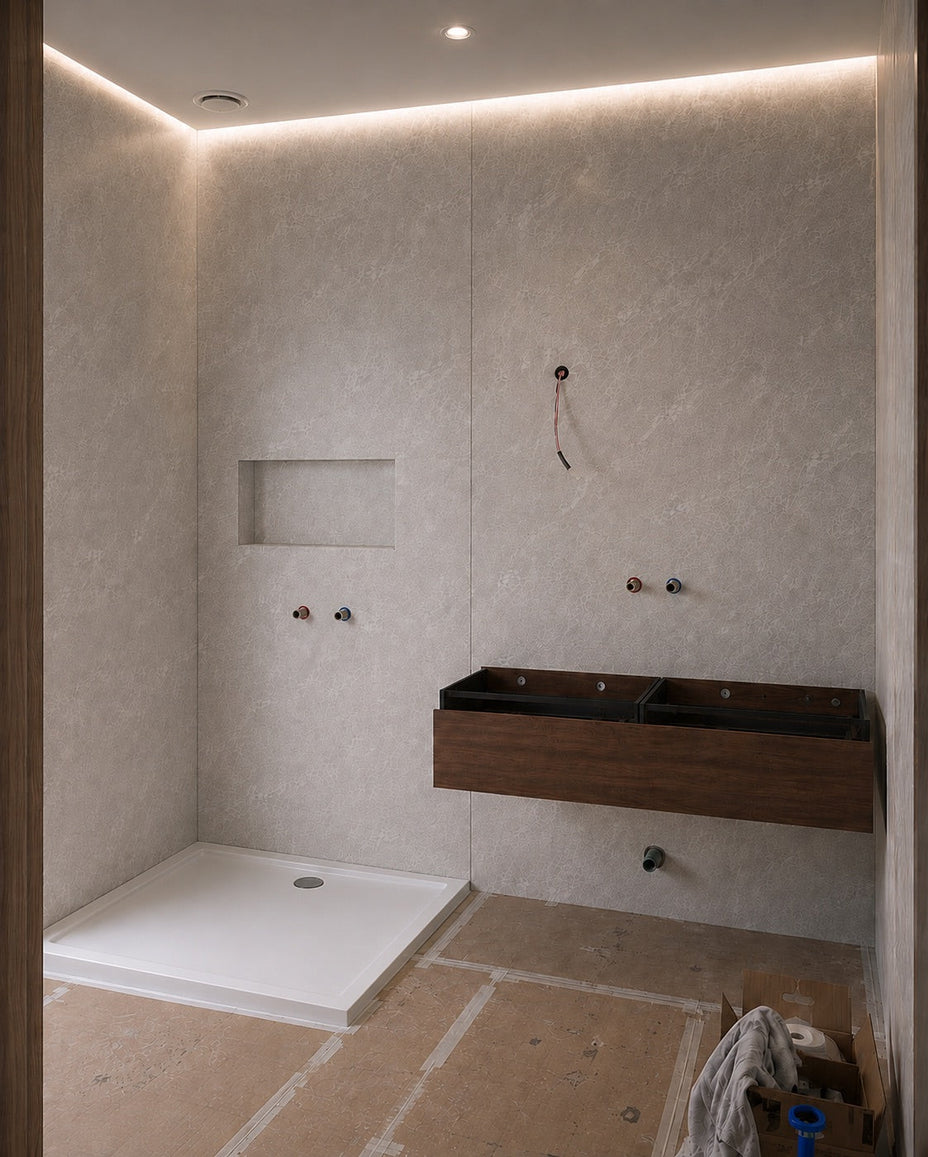
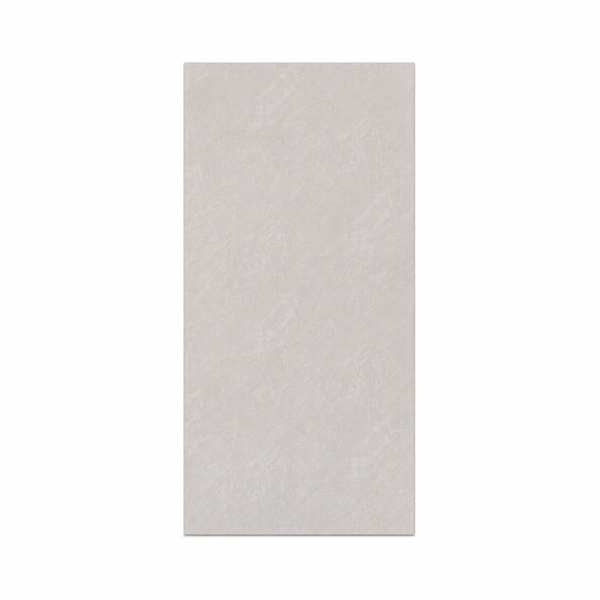
You install a 280 × 122 cm PVC wall panel by spreading polymer adhesive over the entire back with a notched trowel, pressing the panel against the wall and sealing the edges with sanitary sealant. A shower wall takes a few hours, a complete bathroom takes two people about two days. The old tiles can stay on the wall.
Below is the whole process in the order we do it ourselves, from preparing the wall to the first shower. With the figures for our adhesive and the mistakes we see most often.
What do you need to install wall panels?
For PVC and SPC wall panels, the tools most DIYers already own are enough. No specialist equipment is needed.
- 600 ml polymer adhesive and a sausage-pack sealant gun
- Notched trowel with 3–4 mm teeth
- Sharp utility knife and a long straight edge; for the most precise cuts a plunge saw on a guide rail, and a hole saw for round openings
- Spirit level (ideally a long one) and tape measure
- Masking tape and pencil
- Mould-resistant sanitary sealant, in the panel colour or clear
- Degreaser or isopropyl alcohol and clean cloths
- A second person: a panel weighs about 22 kg and is 2.80 m long
Step 1: check and prepare the wall
The panel is 3 mm thick and follows the substrate. Every unevenness you don't deal with now will show in the finished wall.
Hold a long level against the wall in several places, vertically and horizontally. If you are fitting the panels over tiles, check that no tile is loose: tap them, a hollow sound means a void behind. Knock out a loose tile and fill the gap. Then clean the whole wall and degrease it thoroughly, because limescale and soap residue weaken adhesion more than anything else.
Which substrates can you glue to? Tiles, plaster, concrete and plasterboard. If you build a new wall in the wet zone, use moisture-resistant (green) plasterboard. On a genuinely crooked wall, battens work better than gluing directly. We cover this in more detail in our article on renovating a bathroom without removing tiles.
Conditions: the adhesive is applied between +5 and +25 °C. Ideally, bring the panels into the room a day before so they reach room temperature.
Step 2: measure and plan the layout
Start with the most visible wall, usually the back wall of the shower. The side walls then join onto it.
Measure height and width in several places. Walls and ceilings are rarely perfectly straight, and 5 mm of difference over 2.5 m of height is the rule rather than the exception. Always cut to the smallest dimension. You can leave a few millimetres of clearance at the ceiling and floor, but you don't have to: we often fit the boards tight. The panels are flexible and don't crack like tiles, so there is no need to stick strictly to an expansion gap.
One panel is about 3.4 m². A shower wall alone usually takes one or two boards. If you're not sure how many to order, use the calculator on the product page or send us a message.
Step 3: cut the panel to size and cut out openings
The most important rule: always cut from the decor side, not from the back. This applies to every method.
The boards are very easy to work with. For straight cuts, a utility knife is the simplest option: run it along a long straight edge or level, in several passes. The most precise result comes from a plunge saw, a circular saw on a guide rail. An angle grinder with a diamond disc also works, and at a push even with a standard disc.
Openings for a tap, socket or switch: transfer the measurements from the same edge you measure from on the wall, and check them twice. Drill round holes with a hole saw; cut rectangular ones out after pre-drilling the corners. Here too, work from the decor side. Switch off the power before working near a socket. The cover plate will then sit further from the back box by the thickness of panel and adhesive, so you may need longer screws.
Step 4: glue the wall panels over the full surface

600 ml polymer adhesive on a layer spread with a notched trowel: this is how the entire back of the panel should look.
Apply the adhesive to the back of the panel and spread it with a 3–4 mm notched trowel over the entire surface. Not in blobs or beads. Full coverage means no air pockets under the board, and those are the most common reason a panel starts to sound hollow or come away over time.
Our polymer adhesive has a consistency that can be spread with a trowel, which most ordinary construction adhesives from a cartridge can't do. The coverage on the pack is about 2 m² per 600 ml sausage, on a flat substrate. On a crooked wall you'll need more. In the bathroom we did ourselves, well over two sausages went into each panel.
Step 5: position, press, align
With two people, set the panel against the wall, bottom edge first, then the whole board. Press it firmly over the entire surface, from the centre towards the edges, to push the air out. This works best with your hand through a clean cloth or with a rubber roller.
You have about 6 minutes to adjust the position. Check plumb with the level and only then move on to the next board. Slide the next panel tight against the previous one. If the wall is crooked and the boards won't sit in one plane, a tile levelling system helps. On a wall like that we would rather leave a minimal joint between the boards and fill it with sealant than force them together.
Wipe adhesive off the face straight away while it's fresh. Once cured, it only comes off mechanically.
Step 6: finish corners and edges
An internal corner is simple: the panels meet with a small gap that you fill with sanitary sealant. An external corner can be finished with a trim, or you can mitre both boards at 45 degrees, using an angle grinder and a mitre adapter like the ones used for tiles.
A trim is faster and easier. A mitre needs a steady hand, but the corner then looks as if the wall were made of one piece. With a marble look that difference is big, as you can see in the niche in our own bathroom with wall panels.
Do you need an end trim? No. You can simply seal a visible panel edge neatly if the cut is straight. An end profile is useful when the edge isn't clean or the panel stops halfway along a wall.
Step 7: seal with sanitary sealant
Whether your bathroom is watertight depends on the joints, not on the panel. The material itself lets no water through; a gap does.
Seal every place where the panel meets something else: shower tray, bath, floor, ceiling, the next panel and pipe penetrations. Use mould-resistant sanitary sealant. We do this the day after gluing, once the panels no longer move. Mask both sides of the joint, apply the sealant, smooth it with a finger dipped in water with a drop of washing-up liquid, and remove the tape immediately.
Step 8: wait before showering
The adhesive cures at about 2–3 mm per day and reaches full strength after 1 to 7 days, depending on layer thickness and temperature. Sealant usually needs a day. So wait at least a day after sealing before you shower, and longer with a thicker adhesive layer.
What about SPC wall panels with a click system?

The click joint on 60 × 280 cm SPC panels: the panels lock together along the long edge.
You glue SPC panels to the wall exactly like PVC: adhesive over the whole back, notched trowel, firm pressure. The difference is in how the panels join each other. The click closes the seam along the long edge, so no joint is left between the boards that needs sealing.
That makes installation easier. You don't have to level the boards against each other or keep an even gap, because the click sets each panel in one plane with the previous one. It also looks better: the three 60 × 280 cm panels in a set form one continuous marble pattern of 180 × 280 cm. Fit them in the order they lie in the set so the veins run on from board to board.
The most common mistakes
- Adhesive in blobs instead of over the full surface. Air under the board leads to bulging and a hollow sound when you tap it.
- Not degreased. Old bathroom tiles are covered in limescale and soap, even when they look clean.
- Cut from the back. Always cut from the decor side, whatever tool you use.
- Ordinary plasterboard in the shower zone. The problems only appear after years, but they do appear.
- Rushed sealing. The best panel won't help if water gets behind the board through a leaking corner.
How much does it cost to install wall panels, and how long does it take?
Material starts at €49 per panel, about €14 per m², plus adhesive at €9.90 per sausage and sealant. A 3 m² shower wall takes one panel and one to two sausages of adhesive.
Time: a shower wall is a few hours' work for two people. A complete bathroom of about 2.2 × 3.4 m, including removing the old shower enclosure and cabinet, took the two of us two full days. No tiler, no rubble and no week without a bathroom. Would you rather have the panels installed for you? We do that too: ask when you order.
Before you order
Colour and gloss always look slightly different on a screen than in real life. Order up to five 20 × 20 cm samples at €5 each, shipped free, or come and see the boards in Valkenswaard, Schelle or Dortmund, by appointment.
Not sure whether your wall is suitable, or how much adhesive you need? Send us a photo on WhatsApp: +31 6 8551 3217. Delivery time is 1 to 3 working days.